
Introduction
You are building your trophy room, your armoury, or that one display wall for your enchanted gear, and you open the crafting table ready to knock out an armour stand in ten seconds. Then nothing happens. The grid stays empty even though you swear you have the right stuff.
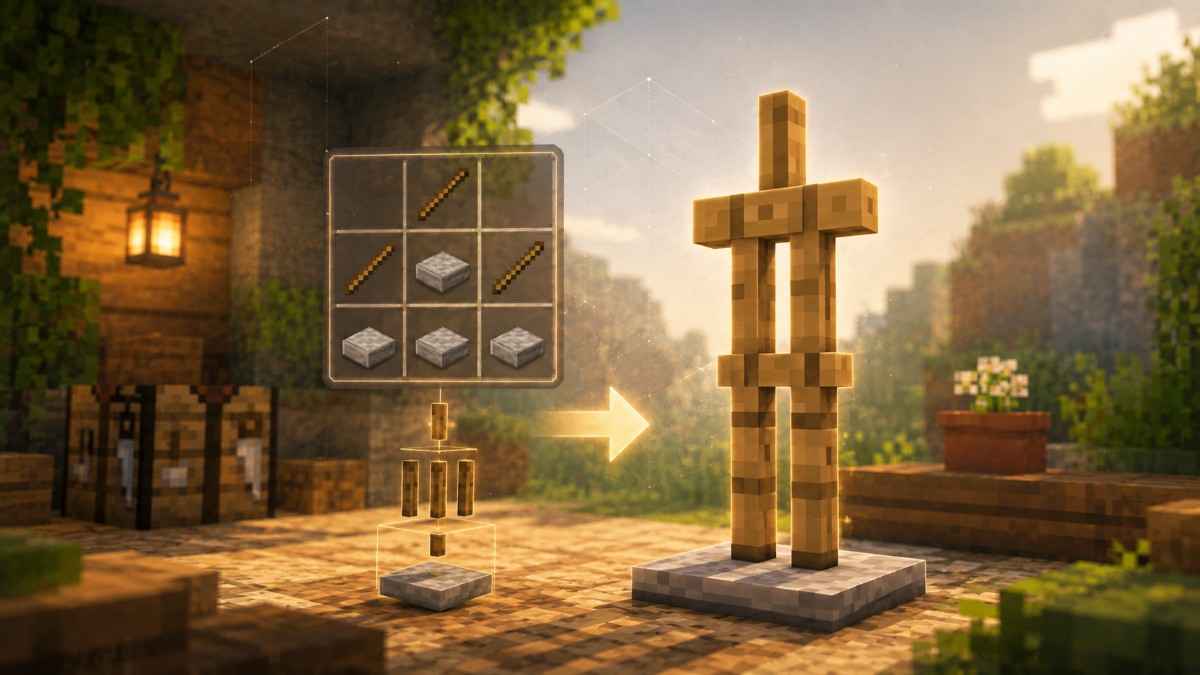
Here is what is actually going on. Learning how to make an armour stand in Minecraft comes down to 6 smooth stone slabs and 1 stick placed in a specific pattern, and it works exactly the same way whether you are on Java, Bedrock, console, or mobile. Note that the game itself spells it “armor stand,” using American spelling, but the recipe is identical regardless of which spelling you search for. The recipe itself is not the problem. The slab is.
Most players grab regular stone slabs, the gray ones you mine straight out of a cave, and wonder why the crafting output stays blank. Smooth stone slabs look almost identical but come from a completely different block, and Minecraft will not accept a substitute.
This guide walks through exactly what to gather, how to smelt the right material, the precise placement in the crafting grid, and what changes (and does not change) once you leave Java Edition. By the end, you will know exactly why your last attempt failed and how to fix it on the first try this time.
What You Need to Make an Armour Stand in Minecraft (Full Materials List)
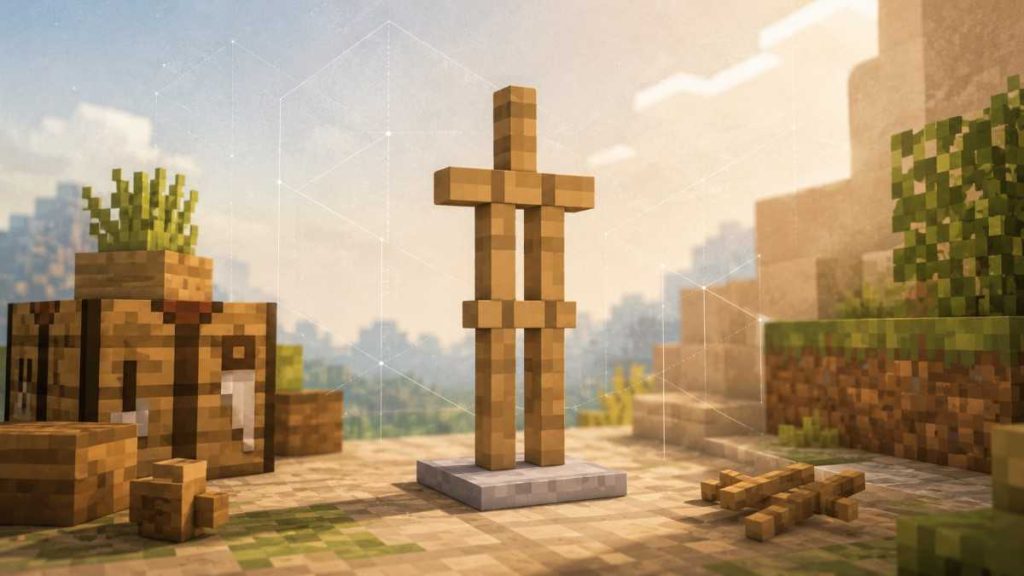
An armour stand takes 6 smooth stone slabs and 1 stick, crafted at a crafting table. You also need a furnace nearby, since smooth stone slabs cannot be mined directly and must be smelted first.
The number one mistake beginners make is grabbing a regular stone slab off a cave wall and wondering why the recipe won’t complete. Stone slabs and smooth stone slabs look nearly identical in the inventory, but Minecraft treats them as entirely different items.
| Item | Quantity | How to Obtain | Common Mistake |
|---|---|---|---|
| Smooth stone slab | 6 | Smelt stone in a furnace, then craft the smooth stone into slabs | Using a regular stone slab instead |
| Stick | 1 | Craft from 2 planks, or find as a drop from leaves/villager trades | Placing it in the wrong grid slot |
| Furnace | 1 (tool) | Craft from 8 cobblestone | Skipping this and trying to mine smooth stone directly |
| Crafting table | 1 (tool) | Craft from 4 wood planks | N/A |
If you’re setting up a full smelting operation for a build project, our Minecraft furnace crafting guide covers fuel efficiency and placement, which comes in handy once you start smelting stone in bulk for slabs.
How to Make Smooth Stone Slabs for an Armour Stand
Smooth stone slabs come from smelting, not mining. You cannot dig one up directly, since smooth stone only exists as a furnace product.
Follow these steps to get the slabs you need.
- Mine cobblestone or find regular stone in a cave.
- Place stone (not cobblestone) into a furnace along with fuel like coal or wood.
- Smelt it. This turns regular stone into smooth stone, a separate gray block with a smoother texture.
- Take the smooth stone to a crafting table and craft it into smooth stone slabs, which yields 2 slabs per block.
- Repeat until you have 6 smooth stone slabs total, meaning you need at least 3 smooth stone blocks.
Smooth stone is its own distinct block, separate from both regular stone and the smooth stone slabs you eventually craft from it. If your inventory shows plain “stone” without the smelted texture, that block has not gone through the furnace yet and will not work in the recipe.
How to Make an Armour Stand in Minecraft: Step-by-Step Crafting Guide
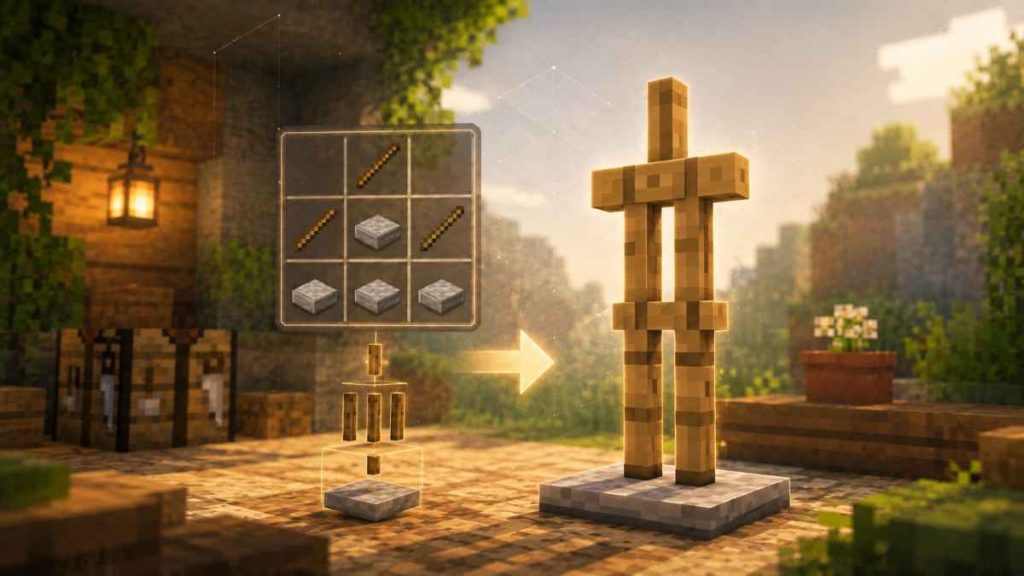
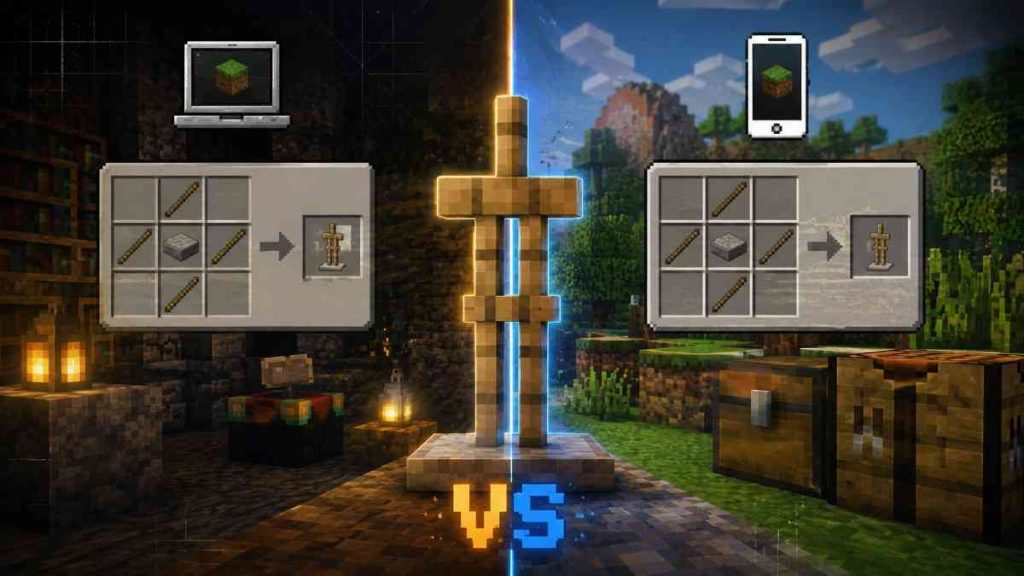
Once you have 6 smooth stone slabs and 1 stick, open a crafting table and place the slabs across the top two rows with the stick in the middle of the bottom row. The armor stand icon should appear immediately in the output slot.
Follow these steps in order.
- Open the crafting table and pull up the 3×3 grid.
- Place smooth stone slabs in all six top and middle row slots, leaving the bottom row empty except the center.
- Place the stick in the bottom middle slot of the grid.
- Check the output box for the small armor stand icon.
- Drag the finished armor stand into your inventory, then place it in the world like any other block.
Success looks like this: the output slot shows a small gray armor stand figure the moment your sixth slab and stick are in place. If the grid stays blank after all seven items are placed, something is wrong with either the item type or the slot position, not your luck.
Common Reasons the Armor Stand Recipe Won’t Work
The recipe fails almost every time because of a wrong slab type, not a placement error. Regular stone slabs, cut copper slabs, and other slab lookalikes will sit in the grid and produce nothing.
Here are the three failure points that account for nearly every “why won’t this craft” moment.
- Wrong slab entirely: regular stone slabs, sandstone slabs, and cobblestone slabs are all common substitutions that silently fail. Only smooth stone slabs count.
- Stick in the wrong slot: the stick has to sit in the bottom center slot specifically. Placing it in a corner or side slot breaks the pattern even with correct slabs everywhere else.
- Mixed slab batches: if even one of your six slabs is the wrong type, the whole recipe fails. Minecraft does not partially craft.
Java Edition vs. Bedrock Edition: Does the Armor Stand Recipe Change?
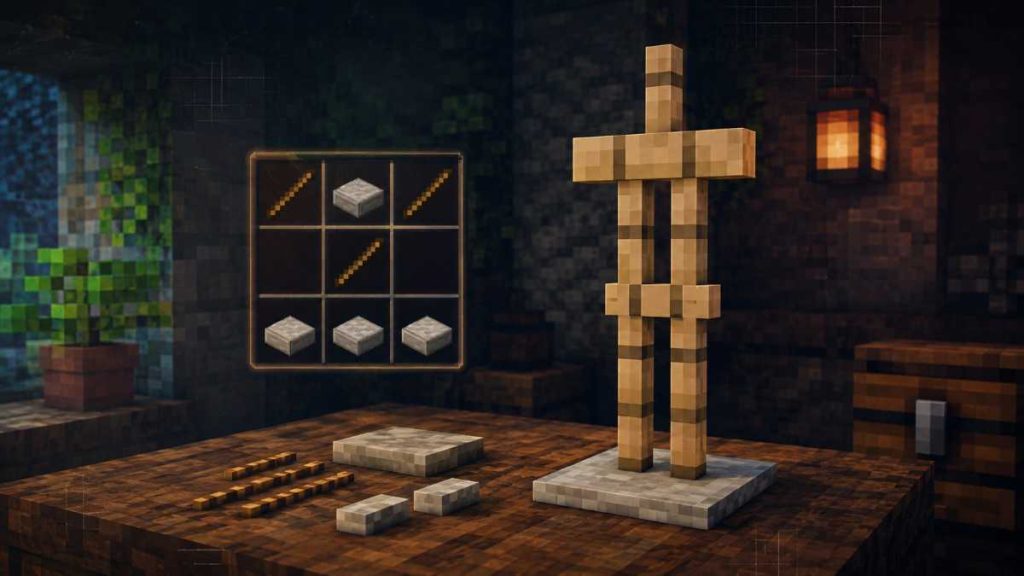
No, the base recipe and materials are identical across every edition. Java, Bedrock, Xbox, PlayStation, and mobile all use the same 6 smooth stone slabs and 1 stick. The differences between editions show up later, in how you pose or customize the stand, not in how you craft it.
| Feature | Java Edition | Bedrock Edition | Console/Mobile |
|---|---|---|---|
| Recipe | 6 smooth stone slabs + 1 stick | 6 smooth stone slabs + 1 stick | 6 smooth stone slabs + 1 stick |
| Materials | Identical | Identical | Identical |
| Posing method | /summon command with NBT tags | Limited in-game rotation via interaction, more advanced posing via commands | Same as Bedrock, adjusted for touch or controller input |
| Command support | Full command syntax available | Commands available but with some syntax differences from Java | Available on most platforms, varies by permissions setup |
The gap between editions gets wider once you try to customize the stand, but the actual act of crafting one is a non-issue no matter what you play on.
How to Make an Armor Stand in Minecraft Bedrock (Xbox, PlayStation, Mobile)
The Bedrock recipe is the same 6 smooth stone slabs and 1 stick as Java. What changes is the interface: controller users navigate the crafting grid with a directional pad and confirm placement with a trigger button, while mobile users tap and drag items directly into grid slots.
Placing and equipping the stand afterward works the same conceptually across all Bedrock platforms. You interact with it using the same button or tap you would use on any other placeable block, then equip armor by interacting again with a piece of gear in hand.
How to Add Arms and Poses to an Armor Stand in Minecraft
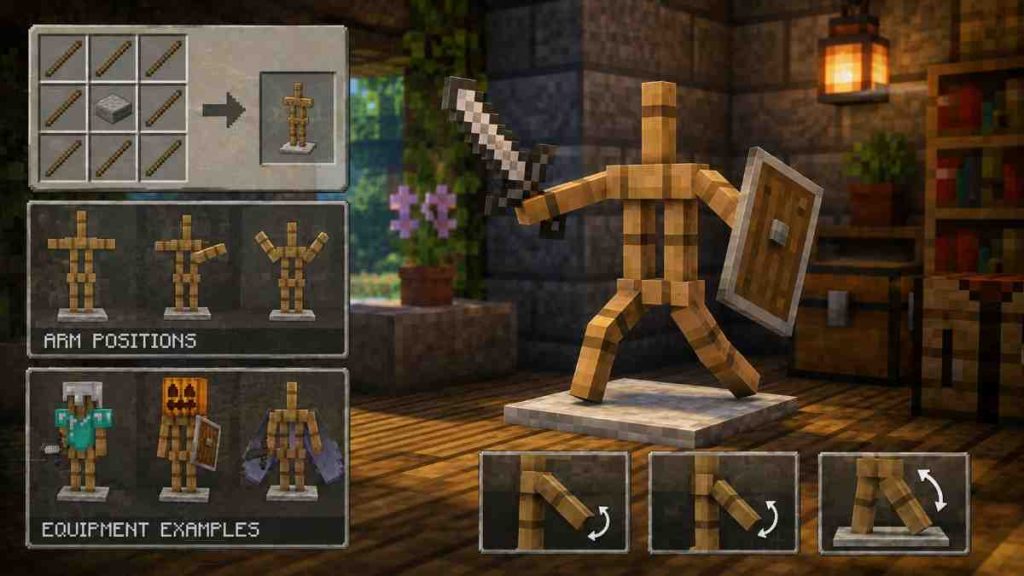
Survival mode alone does not give an armor stand arms. Regular armor stands are limp by default, and getting arms requires a command, most commonly summoning the stand with a specific NBT tag rather than crafting a special “arms” version.
Posing works on a similar principle. Rotating individual limbs, the head, or the body typically involves either a command string with rotation values or, on Java specifically, right-click interactions using certain tools depending on the version. Our Minecraft command block guide walks through the basic /summon syntax if you want to try posing without hand-typing every rotation value from scratch.
There are also third-party pose generator tools that let players build a full command string visually instead of typing rotation values by hand, which is a popular workaround for players who want a specific look without memorizing syntax. None of this affects whether the stand crafts correctly in the first place. Posing is a layer added after the block already exists in your world.
How to Put Armor on an Armor Stand in Minecraft (Once It’s Built)
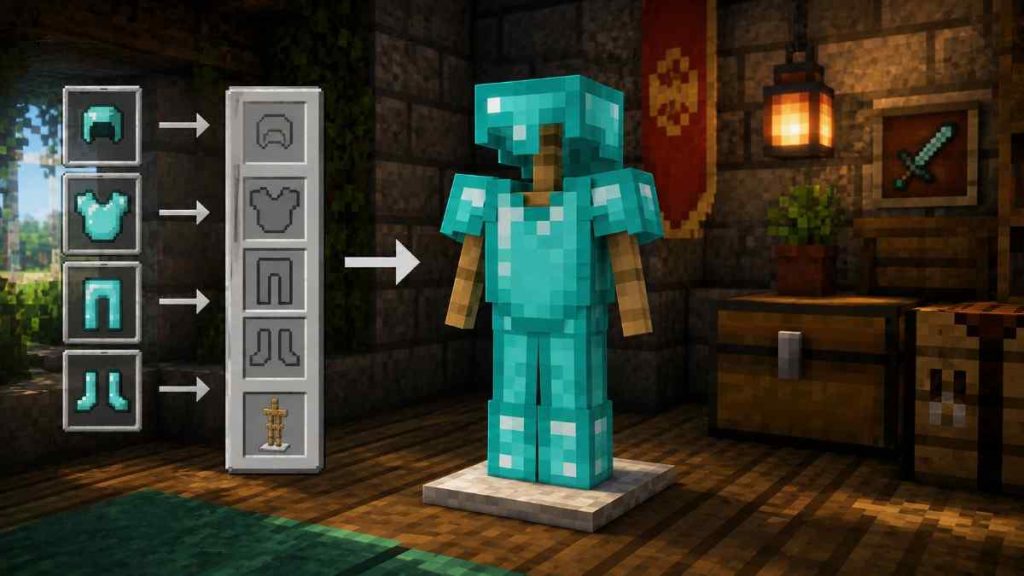
Putting armor on a stand is as simple as holding the piece and interacting with the stand directly. On most platforms, that means right-clicking or using the equivalent interact button while a helmet, chestplate, leggings, or boots is in your hand.
The stand will automatically place the item in the correct slot based on the armor type, so a helmet goes to the head and boots go to the feet without any menu navigation. This is also how you remove armor: interact with the stand again while empty-handed to pull the piece back off.
Once your stand is dressed, a natural next project for a display room is brewing a Weakness Potion, a solid next stop if you’re building out a potions shelf or a villager-trading corner nearby.
FAQ
What is the exact recipe for an armor stand in Minecraft?
The recipe is 6 smooth stone slabs and 1 stick, placed in a crafting table with slabs filling the top two rows and the stick in the bottom center slot. Smooth stone slabs must come from smelted stone, since regular mined stone slabs will not complete the recipe. This exact recipe applies on every Minecraft platform.
Why won’t my armor stand craft even with 6 slabs and a stick?
The most common cause is using regular stone slabs instead of smooth stone slabs, which look similar but are separate items. The second most common cause is placing the stick in the wrong grid slot. Check that every slab has the smooth, smelted texture and that the stick sits in the bottom center position.
Is the armor stand recipe different in Bedrock than Java?
No, the recipe and required materials are identical in Bedrock and Java Edition. Both need 6 smooth stone slabs and 1 stick in the same grid arrangement. Differences between the editions only appear later, when posing the stand or using commands, not during crafting.
Can I give an armor stand arms without commands?
No, a standard survival-mode armor stand does not have arms by default and cannot gain them through crafting alone. Arms require summoning the stand with a specific command tag rather than building it at a crafting table. This applies across editions that support command usage.
How do I make an armor stand dance or pose in Minecraft?
Posing an armor stand generally involves a command with rotation values for the head, arms, legs, and body, rather than an in-game menu. Some players use third-party pose generator tools to build the command visually before entering it. There is no way to achieve a full custom pose through survival crafting alone.
The Bottom Line
The armour stand recipe itself has never actually been the hard part. What trips people up is the slab, since a regular stone slab and a smooth stone slab occupy the same visual space in most players’ minds but are treated as completely different items by the game.
Smelt your stone first, craft the slabs from that smooth stone, and place them with the stick dead center in the bottom row. Do that once correctly and you will never second guess the recipe again, on any platform you play on.
If you want your display room to feel finished rather than just functional, the next logical move is dressing the stand and building out the surrounding shelf or case before you move on to posing experiments with commands.