
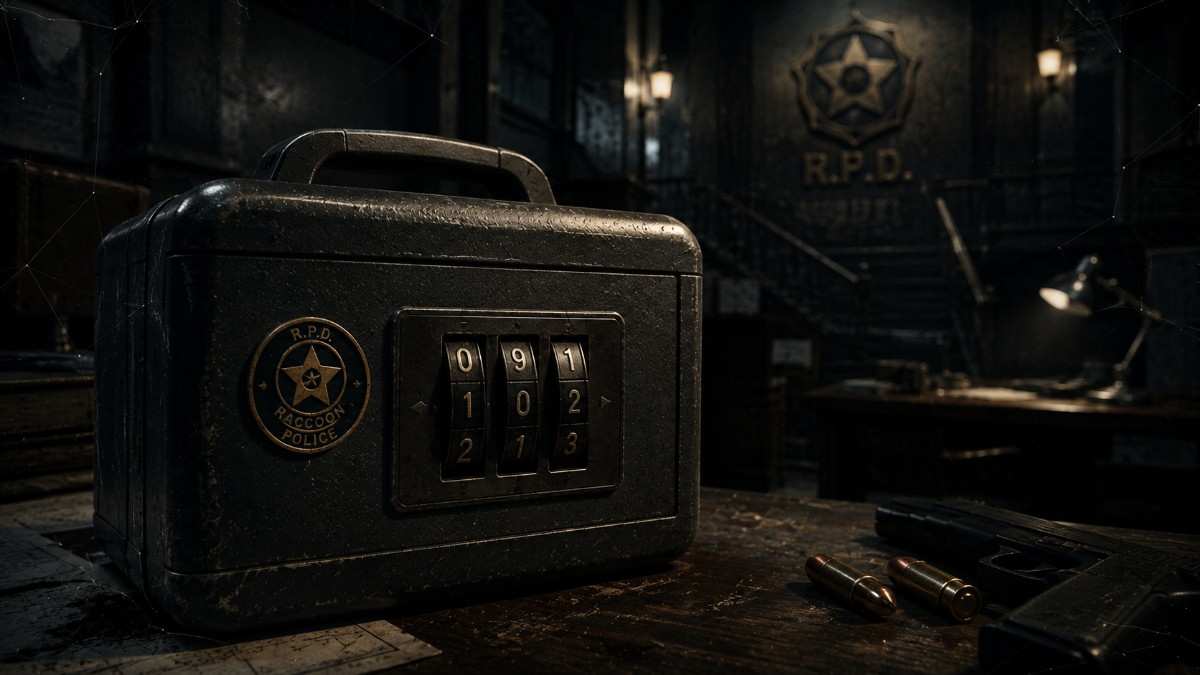
What You Need Before You Can Open Any RPD Safe
None of the fixed safes in the police station require a key item to open. What actually blocks you is room access, since a couple of the rooms containing safes stay closed until you hit specific points in the story. Confusing “I don’t have the right key item” with “this room isn’t open yet” is where a lot of players get stuck.
| Safe or Locker | Room | Access Requirement | Confirmed Combination |
|---|---|---|---|
| West Office Safe | 1F, West Office | Reachable early, no item required | Left 9, Right 15, Left 7 |
| Waiting Room Safe | 2F, Waiting Room | Story progression opens this floor | Not independently confirmed here |
| Locker Rooms | 1F | Story progression | Not independently confirmed here |
The West Office is the one safe we can confirm with total certainty, and it’s also the one most players search for first, since it’s the earliest safe you’ll run into. If you’re hunting for the Waiting Room combination or a specific locker number, treat any code you see elsewhere with some skepticism until you test it in your own save. Build-to-build differences between the original release and the 2019 remake have caused enough disagreement online that we’re not going to hand you a number we can’t stand behind.
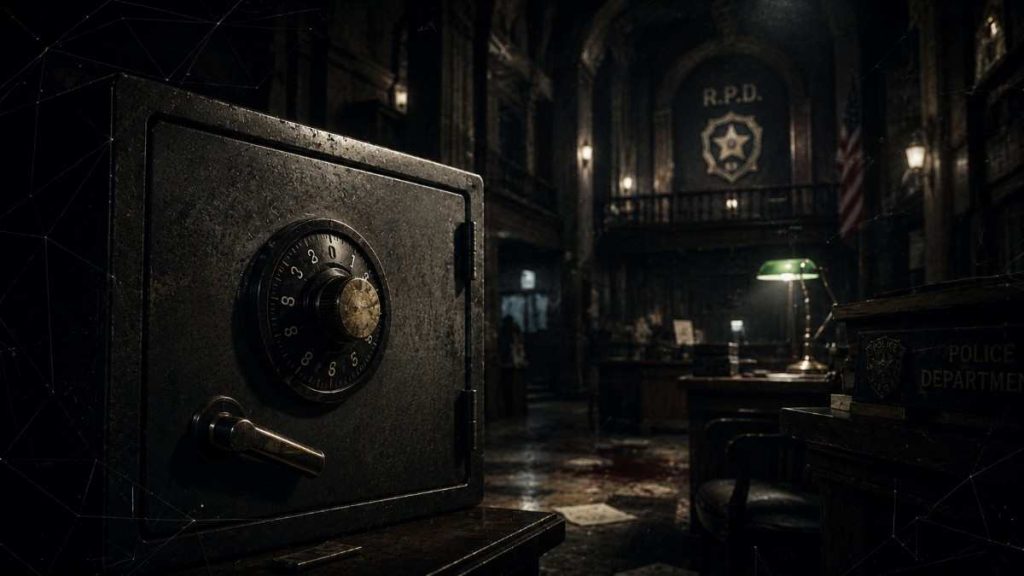
Why the Dial Turns the “Wrong” Way (and Why Your Code Isn’t Failing)
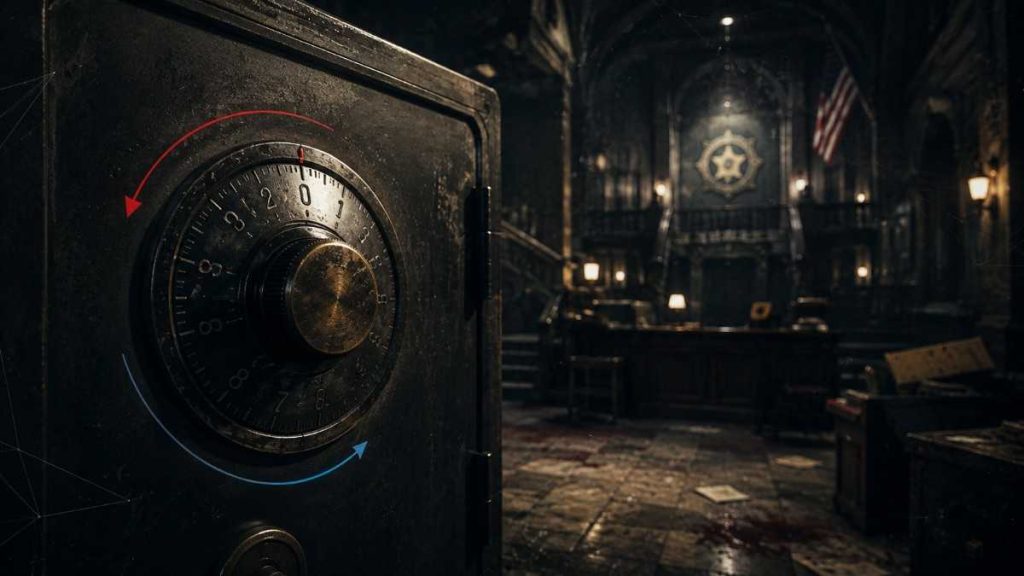
The dial rotates opposite to the direction you press. If the code calls for “Left 9,” you’re tapping the left input, but you’ll watch the dial itself spin toward the right side of the numbers.
This is the single biggest reason players think a correct code is broken. You tap left, expecting the numbers to scroll left, and instead they scroll right. Your brain reads that as a glitch or a wrong entry, so you back out and start second-guessing the code itself.
The fix is simple: trust the input, not the visual direction. Tap the button the code tells you to tap, watch the number land, and move to the next input. Don’t try to “correct” the dial by tapping the opposite direction, because that’s the mistake that actually breaks the sequence.
RE2 Police Station Safe Code: Every Combination by Room
The one combination we can confirm without hedging is the West Office safe: Left 9, Right 15, Left 7. It’s located on the first floor in the West Office, the room with the desk and typewriter near the start of your run through the RPD, and it opens into the Hip Pouch.
West Office Safe Code (1F)
Enter Left 9, Right 15, Left 7 on the dial, remembering that each tap moves the dial in the opposite visual direction. Once it clicks open, you’ll get the Hip Pouch, which is one of the better early inventory upgrades in the game and worth grabbing before you go much further into the station. If you want the full list of what each upgrade item does, our Hip Pouch and inventory upgrades guide breaks down every pickup by location.
Waiting Room Safe Code (2F)
The Waiting Room safe sits on the second floor and only becomes reachable once you’ve progressed far enough in the story to open that section of the RPD. Numbers circulating for this safe vary between community threads, older guide sites, and the two different game builds, which is exactly the kind of inconsistency that makes us unwilling to publish a figure here without independent confirmation.
What we can confirm is the mechanic: the Waiting Room dial uses the same reversed rotation as the West Office. If you find a code you trust, apply the same left-tap, right-spin logic and don’t assume a stuck dial means a wrong number.
Locker Room Codes (1F)
The locker rooms near the RPD’s east wing use combination locks rather than the rotary dial, and the numbers reported for these have shifted across patches and platform releases. Some players report the same three-digit sequence working across multiple playthroughs on the same platform, while others report different numbers entirely, which suggests these may not be fully static across versions.
Until that gets nailed down with certainty, the safer approach is testing digits on your own save rather than copying a number from a comment section. Progression, not a missing tool, is almost always what’s keeping a locker closed in the first place.
On Other RPD Safes and Lockers
If you’ve seen guides listing extra safe or locker combinations for the Waiting Room, the locker rooms, or a supposed sewer safe, treat those cautiously. Numbers circulating for those rooms vary between sources and game builds, and we’d rather tell you that plainly than hand you a code that might not match your save. What we can tell you with confidence is the mechanic behind all of them: it’s the same left-right-left dial logic described above, so once you’re in front of any RPD safe, the West Office method applies directly.
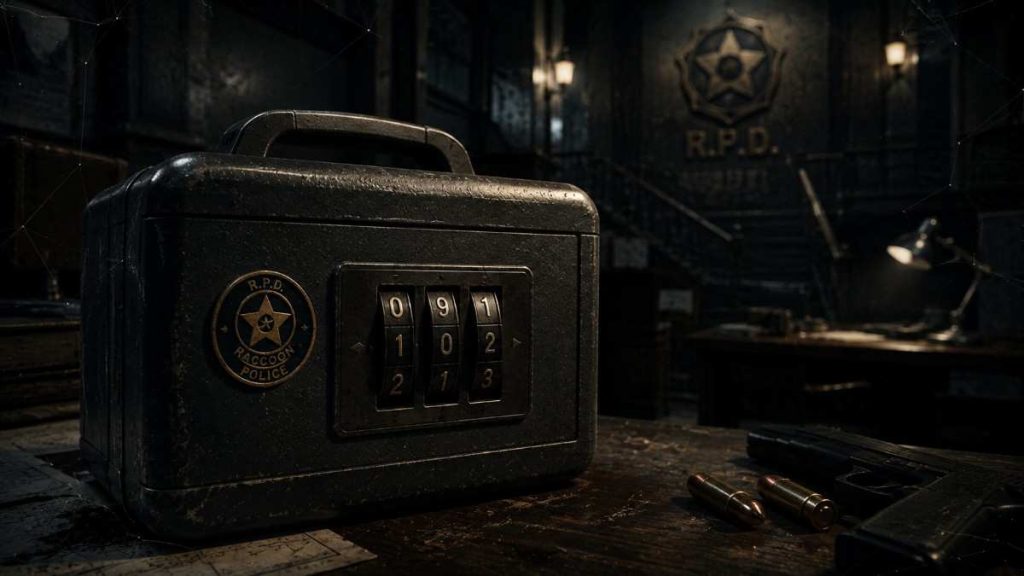
What Is the RE2 Portable Safe Code?
There isn’t one universal portable safe code, and that’s the point: the two portable safes hidden in the police station generate a randomized combination for every individual save file. A code that worked for a streamer on YouTube has no chance of working for you.
Cracking a portable safe means using the elimination method instead of memorization.
- Press the buttons in a short test sequence and watch for a green light chain reaction on the panel.
- Note which presses cause a lit response versus which ones cause the lights to reset.
- Narrow the working sequence down by testing one variable at a time rather than guessing full combinations at random.
- Repeat the process until the full correct order lights up in a clean, unbroken chain.
What success looks like: the buttons light up in a straight, unbroken row with no flicker or reset. If a light drops out partway through, that section of your sequence is wrong and the safe resets the chain, not the whole puzzle, so you don’t lose your earlier progress.
The most common mistake here is assuming a code someone posted online will work on your file. It won’t, since the combination is generated per save. If your sequence keeps breaking at the same spot, back up one step and retest that single input before moving forward again.
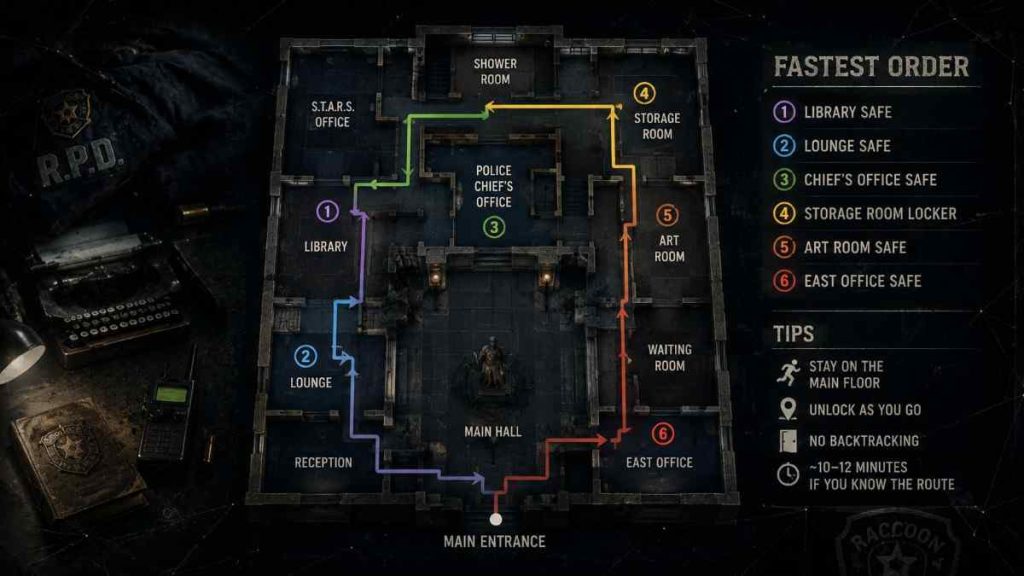
Fastest Order to Grab Every Code Without Backtracking
The fastest run through the RPD hits the West Office first, since it’s on your natural path early in the game and doesn’t require any detours.
- Head to the West Office on 1F as soon as it’s accessible and grab the Hip Pouch from the safe.
- Continue your normal story progression toward the areas that open the second floor.
- Once 2F opens up, swing through the Waiting Room and any nearby locker rooms in the same pass rather than looping back later.
- Check both portable safes as you pass through their rooms, testing the elimination method in short bursts instead of stopping to fully solve them the first time you see them.
This keeps you moving in one direction instead of crossing the same hallway three separate times chasing codes out of order. If you’re also tracking key items alongside the codes, our RE2 key items and locations checklist lines up well with this same route.
Do the Safe Codes Ever Change?
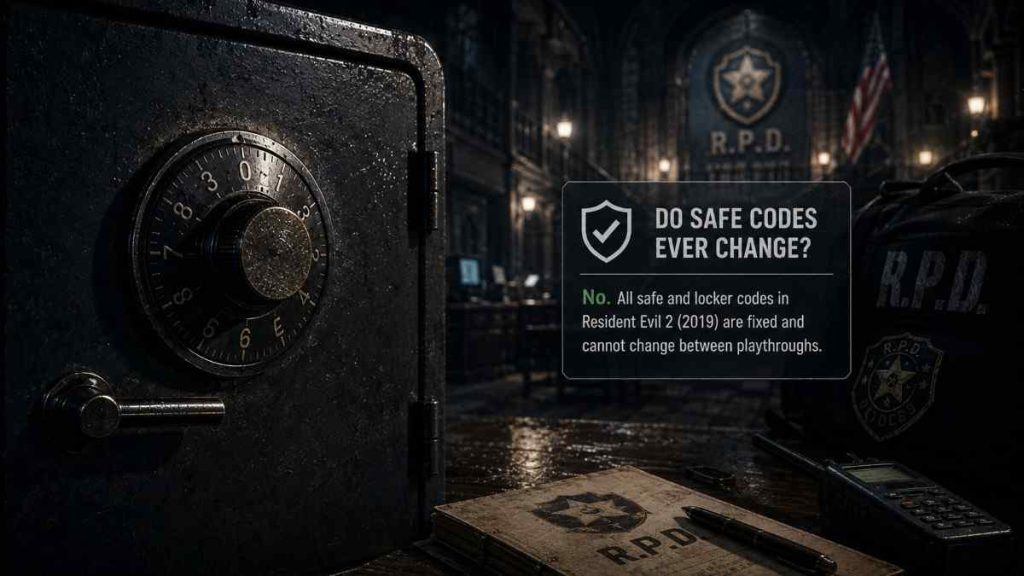
The West Office safe combination is fixed and confirmed. The portable safes are randomized per save file, which is the one type of code in this guide that will never match a number you see somewhere else.
| Code Type | Fixed or Randomized | Confirmation Level |
|---|---|---|
| West Office Safe | Fixed | Confirmed |
| Waiting Room / Locker Codes | Reported as fixed, varies by source | Not independently confirmed |
| Portable Safes (both) | Randomized per save | Confirmed |
Knowing which category a code falls into saves you the headache of typing in a number that was never going to work in the first place. Curious how the code differs by which protagonist you’re running. Our Leon vs Claire scenario differences guide covers where the two campaigns actually diverge beyond safe codes.
FAQ
What is the code to the safe in the police station in RE2?
The West Office safe on the first floor opens with Left 9, Right 15, Left 7. This is the earliest safe most players run into, and it rewards the Hip Pouch, an inventory upgrade. Enter the numbers exactly as listed and remember the dial spins opposite to the direction you press, which is the most common reason this code appears to fail.
Is the RE2 portable safe code always the same?
No, the portable safe combinations are randomized for every individual save file. A code posted by another player or found in a video will not work on your game. The only reliable way to open one is the elimination method: test short button sequences, watch for the green light chain, and narrow down the correct order one step at a time.
Do Leon and Claire have different safe codes?
The West Office safe combination is the same regardless of which character you’re playing. Reported differences show up around locker room codes rather than the fixed safes, though those specific numbers vary enough across sources and game builds that we’re not stating them here without solid confirmation. If you’re stuck, apply the same dial logic from the West Office safe to whatever combination you have in hand.
What do I need before I can open the West Office safe?
Nothing beyond reaching the room itself. The West Office doesn’t require a key item, a badge, or a lockpick, it’s simply a matter of progressing far enough into the RPD to access that part of the first floor. If you’re standing in the room and the code isn’t working, the issue is almost always the dial’s reversed rotation, not a missing item.
Why does my safe code seem to not match what I found online?
This usually comes down to one of two things: either you’re fighting the dial’s reversed rotation without realizing it, or the specific code you found online is for a room where combinations have been reported inconsistently across different builds of the game. The West Office code is stable and confirmed. If another safe isn’t cooperating, double check your input direction before assuming the number itself is wrong.
The One Thing to Remember
The West Office safe code, Left 9, Right 15, Left 7, is the one number in this entire guide you can type in with total confidence. Everything else in the RPD depends on understanding the dial’s reversed rotation and knowing which codes are fixed versus randomized per save. Get those two mechanics straight and you’ll stop wasting time re-entering “wrong” codes that were actually right the whole time.
If you’re working through the police station for the first time, grab the Hip Pouch from the West Office early, since the extra inventory space makes the rest of your run noticeably smoother. For the portable safes, don’t bother searching for a universal code. Trust the elimination method and the green light chain instead, and you’ll crack it faster than any list of numbers ever could.